Your First WfSpec
In LittleHorse, a Workflow Specification (WfSpec) defines the sequence of steps that should be executed when you run a workflow . In this guide, we'll create our first WfSpec that uses the Task Worker we created in the previous lesson.
This tutorial assumes you have completed the Your First Task Worker guide and have your Task Worker running.
What is a WfSpec?
A WfSpec is like a blueprint that tells LittleHorse exactly what should happen when a workflow is run. It defines the following included but not limited to:
- What input variables are needed
- Which tasks should be executed
- In what order those tasks should run
- What should happen if something goes wrong
Think of a WfSpec as a recipe: it lists all the ingredients (variables) and steps (tasks) needed to create the final product (workflow execution).
Creating a WfSpec
In this section, we'll create a simple workflow that uses our greeting Task Worker from the previous lesson.
package io.littlehorse.tutorial;

import io.littlehorse.sdk.wfsdk.WfSpec;
import io.littlehorse.sdk.wfsdk.Workflow;
import io.littlehorse.sdk.wfsdk.WorkflowThread;

public class GettingStartedWorkflow extends Workflow {

    @Override
    public WfSpec getWfSpec() {
        return WfSpec.newWorkflow("getting-started", thread -> {
            // Define input variable
            var name = thread.addVariable("name", String.class);

            // Execute the greeting task
            thread.execute("greet", name);
        });
    }
}
Let's break down what this code does:
- We create a new workflow named
getting-started - We define an input variable called
nameof typeString - We execute our
greettask (from the previous lesson) with thenamevariable
Registering the WfSpec
Before we can start running workflows, we need to register a WfSpec with the LittleHorse Server. The LH SDK ships with a useful WfSpecClient object that makes it easy to do that. The following executable Main file acccomplishes that:
package io.littlehorse.tutorial;

import io.littlehorse.sdk.common.config.LHConfig;
import io.littlehorse.sdk.wfsdk.WfSpecClient;

public class Main {
    public static void main(String[] args) {
        // Create configuration from environment variables, which tells the SDK where to talk to LittleHorse.
        LHConfig config = new LHConfig();

        // Register the WfSpec
        GettingStartedWorkflow gettingStarted = new GettingStartedWorkflow();
        gettingStarted.getWfSpec().registerWfSpec(config.getBlockingStub());
    }
}
Run this code using:
./gradlew run
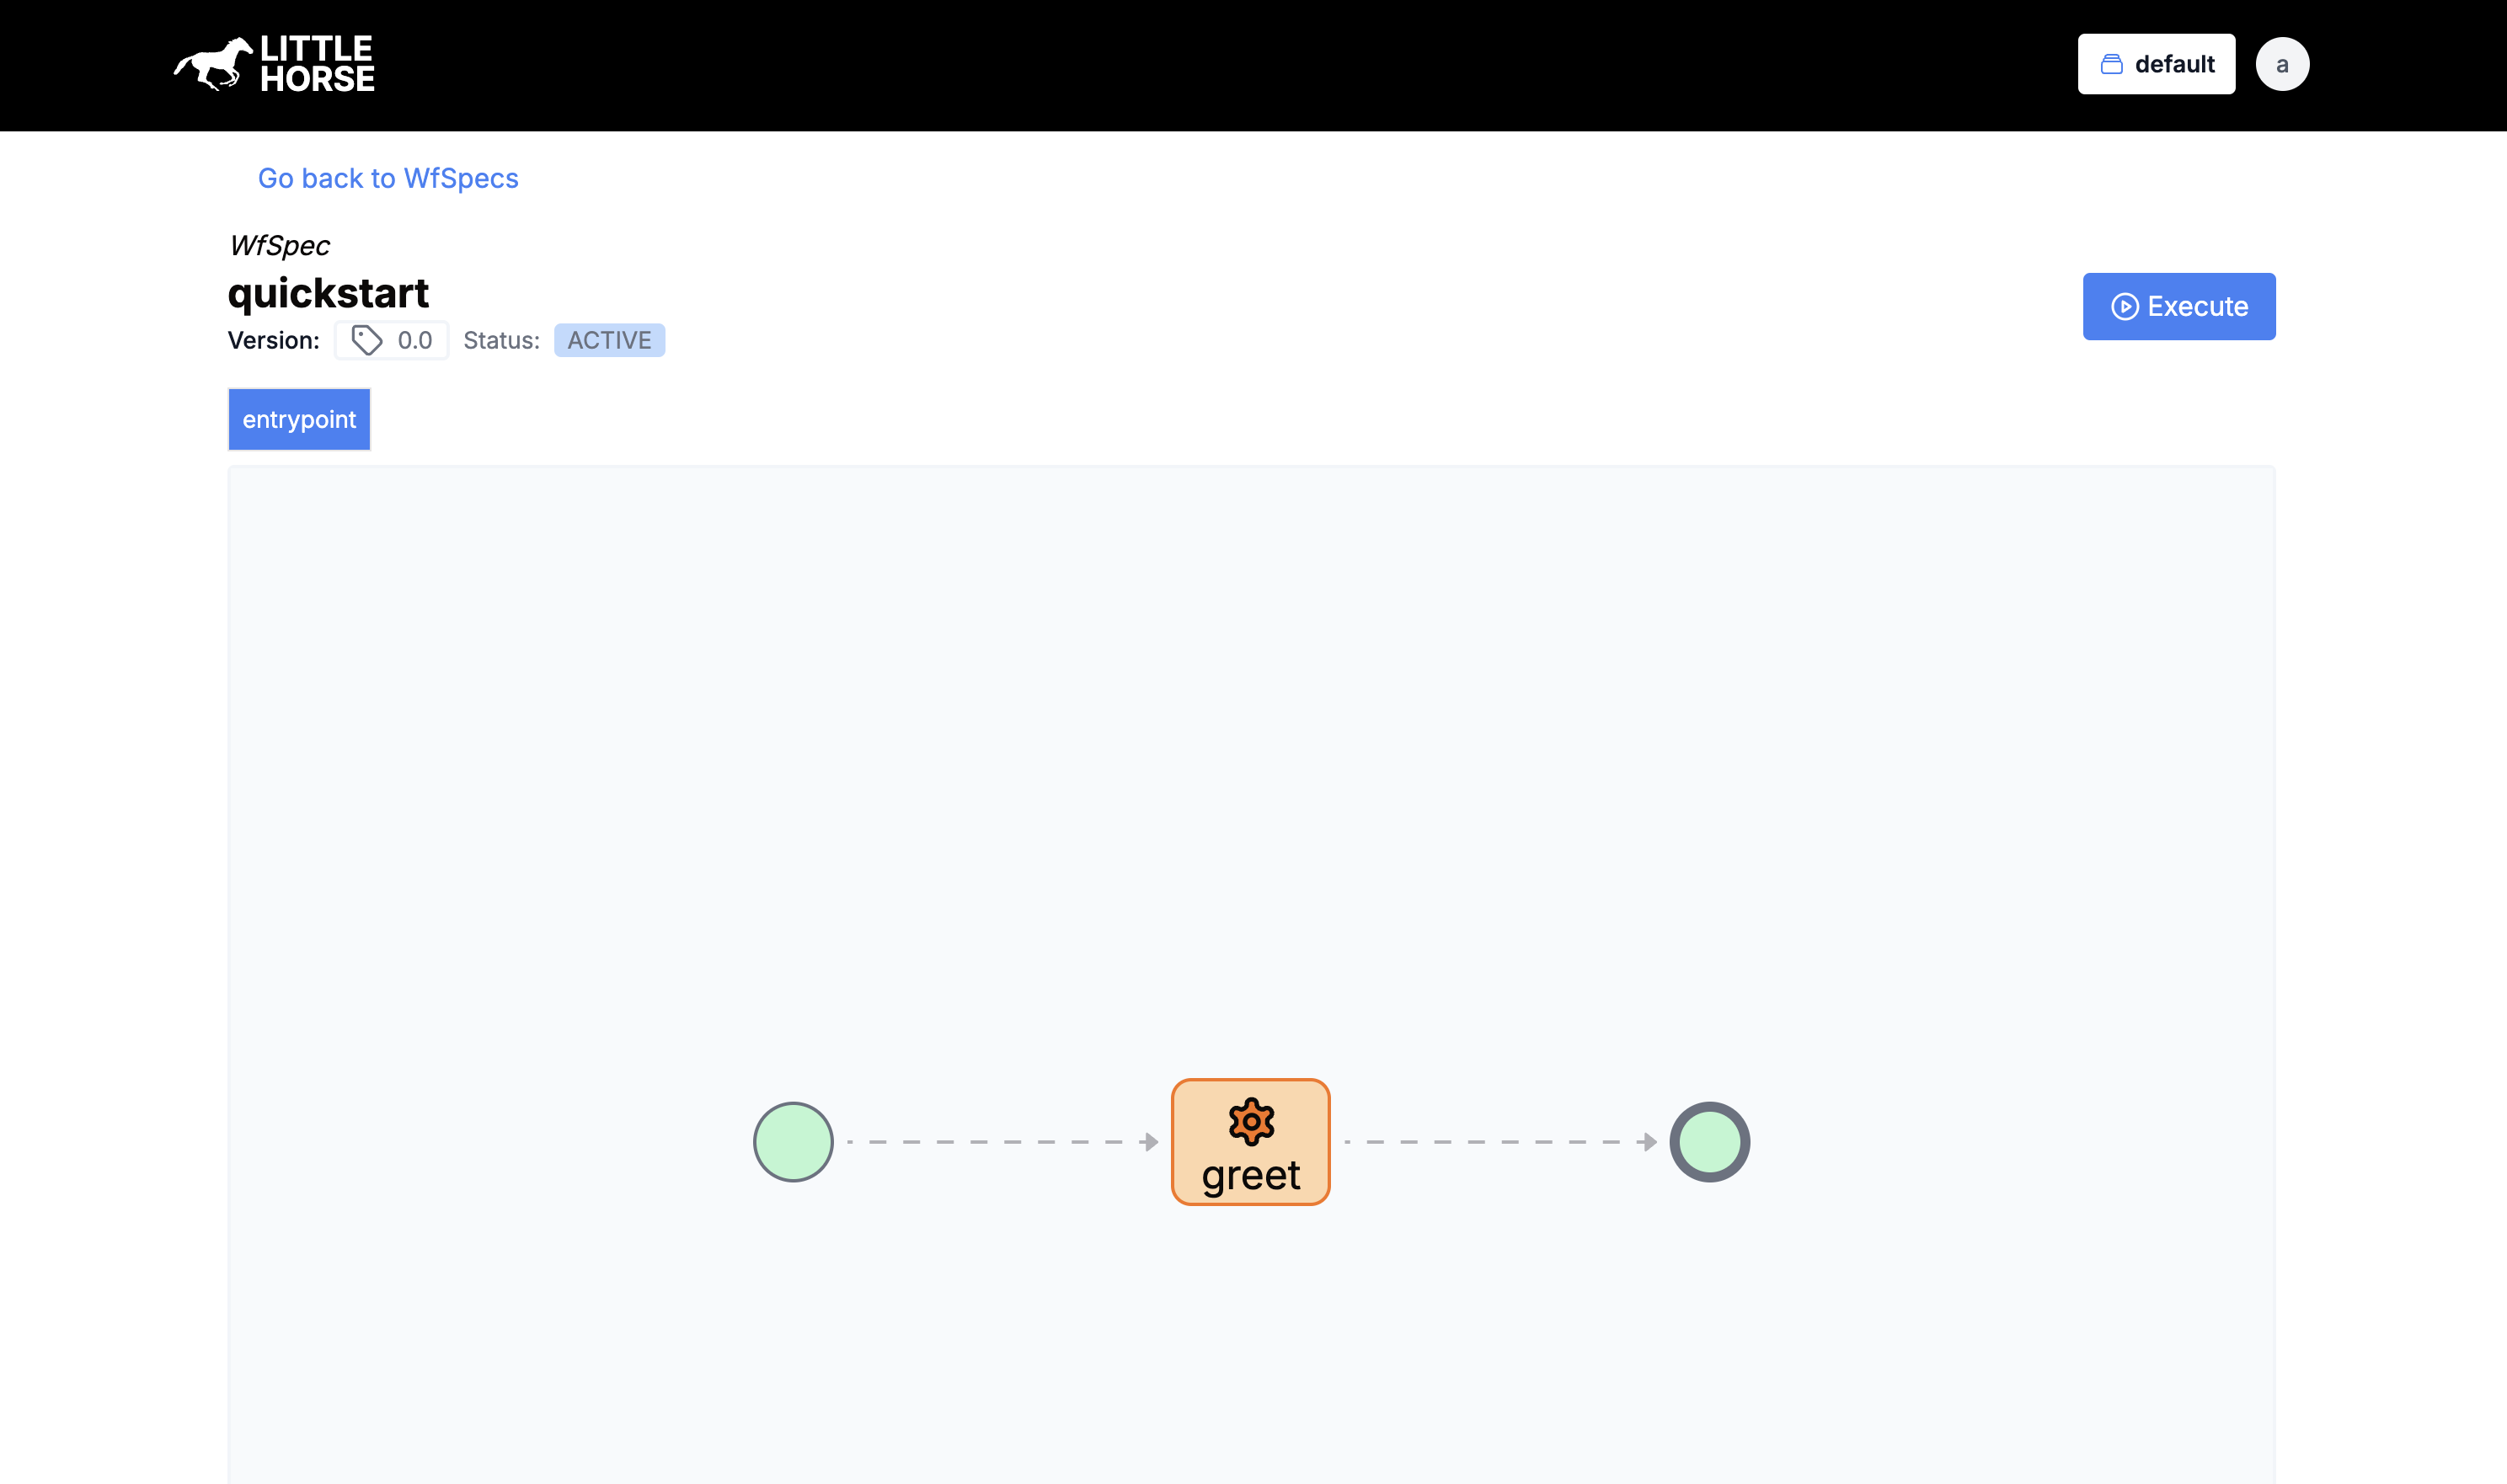
If you navigate to your LittleHorse dashboard, you should now see the getting-started WfSpec.

Running the Workflow
Now that we have registered the WfSpec and TaskDef, we need to tell LittleHorse to run the workflow. As previously mentioned, we can do that in three ways:
- Using the
lhctl runcommand. - Using our GPRC Client.
- Using the dashboard.
Let's run the workflow using the lhctl run command:
lhctl run getting-started name Obi-Wan
Wrapping Up
Congratulations! You've created and registered and ran your first workflow. In the next lesson, we'll learn how to run this workflow and see it in action.
In the meantime, if you haven't done so already:
- Join the LittleHorse Slack Community
- Give us a star on GitHub
- Check out our documentation